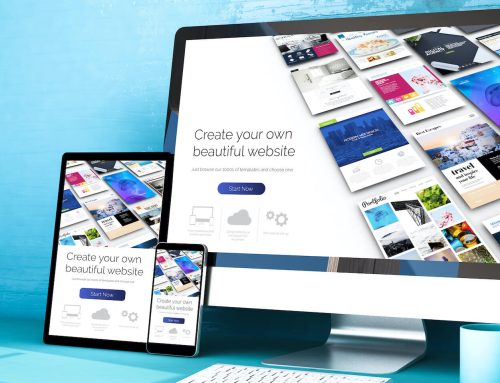
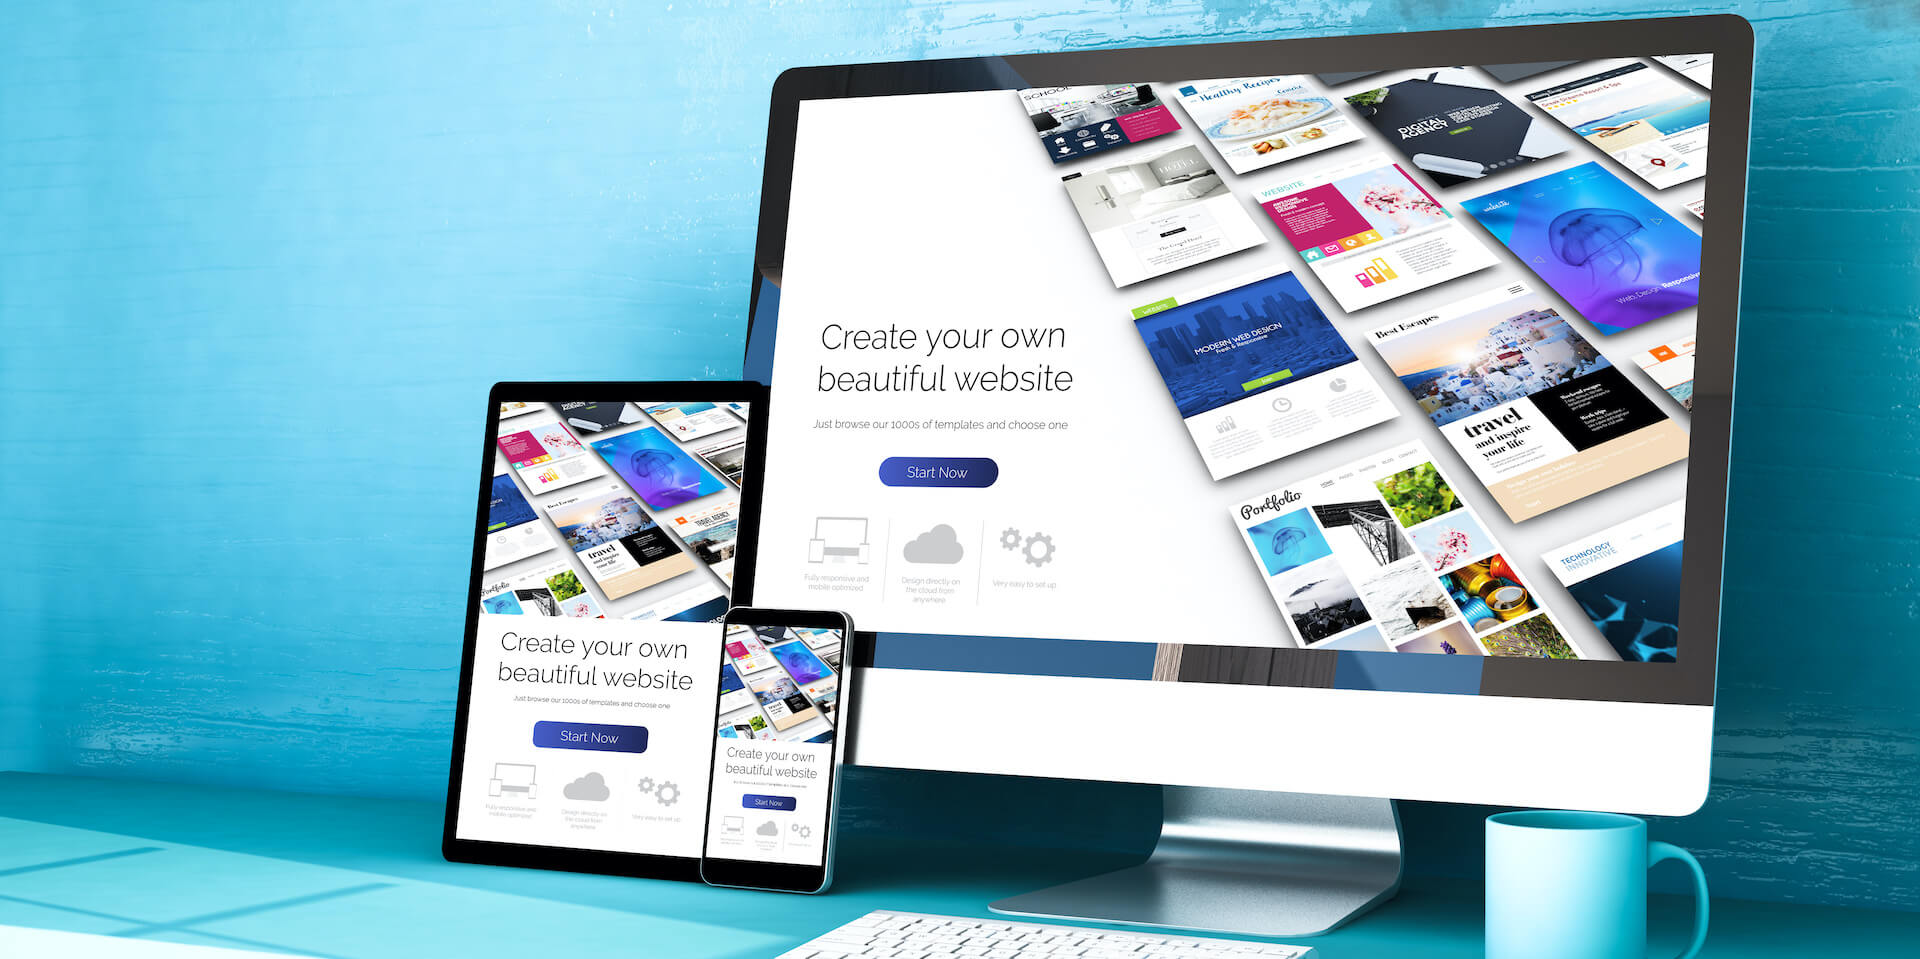
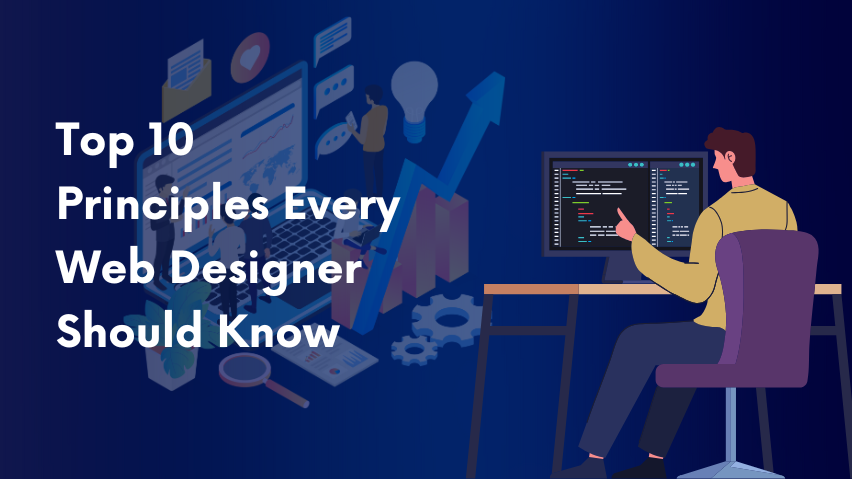
A well-designed website acts as a brand’s digital storefront—attracting visitors, generating leads, and boosting sales. But building a professional site isn’t as simple as it seems. It’s a multi-layered process that requires planning, strategy, and the right tools. Thankfully, platforms like WordPress and Divi make this process smoother for both beginners and experienced developers.
In this article, we’ll walk you through the 7 key stages of web design—from the creative brief to the final launch—and explain how tools like Divi can streamline every step.
The 7 Stages of Web Design Explained
Web design is not just about visuals—it’s about crafting a user experience that aligns with your client’s goals. Here’s how the process unfolds:
1. Setting Up a Creative Brief
A creative brief is your project’s north star. It outlines the purpose, scope, goals, and expectations, ensuring all stakeholders are aligned from the outset.
What to Include in a Creative Brief:
- Project Goals & Objectives: Define whether the website is intended to boost brand awareness, drive sales, or capture leads.
- Target Audience: Identify demographics, behaviors, and preferences to tailor the content and design accordingly.
- Brand Voice & Messaging: Establish the tone—whether formal, casual, or playful—and make sure all content aligns with it.
- Visual Style & Tone: Decide on a style—modern, minimalist, vintage, etc.—that fits the brand identity.
- Timeline & Budget: Outline major milestones, final deadlines, and budget expectations.
- Additional Features: Determine required functionalities such as SEO, contact forms, ADA compliance, or newsletter sign-ups.
2. Analyzing the Creative Brief
Once the brief is ready, break it down into actionable insights. Evaluate the goals, user personas, and branding guidelines to develop a strategic approach.
Key Steps:
- Competitive Analysis: Study competitor websites to understand their strengths and weaknesses. Look for design gaps you can fill.
- Audit the Existing Site (if any):
- Website Traffic
- Bounce Rate
- Conversion Metrics
- Mobile Responsiveness
- Page Speed
- Content Quality
This helps pinpoint where the new site can improve.
3. Planning the Website
Lay down measurable goals—like improving SEO or increasing conversion rates—and ensure the plan aligns with them.
Key Planning Activities:
- Keyword Research: Identify high-value keywords using tools like Semrush.
- SEO Optimization: Create strong titles, meta descriptions, and image alt tags.
- Conversion Optimization: Improve CTAs, simplify forms, and enhance navigation.
- Performance Planning: Use a theme like Divi to reduce code bloat and improve speed.
Creating a Sitemap:
- Organize content hierarchically.
- Strategize the menu for ease of navigation.
- Plan internal linking for a seamless user journey.
Choose the Website Type:
Determine whether your client needs a blog, e-commerce site, portfolio, or membership platform. Don’t overload it with unnecessary features.
Identify Functionalities:
Depending on the project, you may need:
- Contact forms
- Membership plugins (e.g., MemberPress)
- Social media integration
- Enhanced search tools
- Analytics tracking (e.g., Google Analytics plugin)
Divi offers many of these features out of the box.
4. Designing the Website
This is where your strategy becomes visual.
Establish Brand Identity:
- Design a clear, memorable logo
- Create a consistent color palette (5–6 colors)
- Choose readable fonts that match the brand tone
Create Wireframes & Mockups:
- Use tools like Figma or Adobe XD
- Or use Divi’s Visual Builder for quick mockups
- Gather client feedback before moving into development
5. Creating Web Content
Content brings users in—and keeps them engaged.
Keyword Optimization:
Conduct keyword research to align content with user search intent. Target long-tail keywords for specific, high-converting traffic.
Gather Media:
- Capture original photos/videos
- Use royalty-free image sites like Unsplash or Shutterstock
- Use Divi AI to generate tailored visuals from text prompts
Write Engaging Copy:
- Be clear, concise, and aligned with brand voice
- Optimize with headings, internal links, and relevant keywords
- Ensure all legal requirements and disclaimers are in place
6. Developing the Website
Now it’s time to turn your design into a fully functional website using WordPress and Divi.
Development Tips:
- Use Divi’s visual builder for real-time editing
- Optimize image sizes and enable lazy loading
- Use caching and minification plugins
- Ensure accessibility and mobile responsiveness
7. Testing & Launching the Website
Before launching, conduct thorough testing.
Pre-Launch Checklist:
- Browser testing (Chrome, Safari, Firefox)
- Mobile responsiveness
- Functionality of forms and CTAs
- Site speed using tools like Google PageSpeed Insights
- Google Analytics and Search Console setup
- Final site backup
Once everything checks out, publish the site and monitor its performance during the initial launch phase.
WordPress & Divi: Accelerating the Process
WordPress offers a reliable foundation, and Divi turns it into a design powerhouse. Divi’s features—drag-and-drop editing, pre-made layouts, performance tools, and WooCommerce support—streamline every stage of the design process.
With Divi AI, you can even generate images and content directly within the builder, saving you time and resources.
Final Thoughts
Great web design isn’t just about aesthetics. It’s about creating an intuitive, goal-driven experience that resonates with your audience. By following these seven stages—and using tools like WordPress and Divi—you’ll set yourself up for faster workflows, better results, and happier clients.

Leave A Comment